
1. Create & Publish Your Privacy Policy
Summary
This article walks you from a blank page to a live, Active policy that members can see and respond to. You’ll also learn when to make a new version and what Active vs Retired really mean.
What you need before you start
- A simple list of communications you send (e.g., magazine, regional notices, show announcements).
- Find out who in the Club has access to the membership data, this is usually the club officers and possibly regional organisers, but it’s important to know what roles they are.
- Find out which third parties have access to the membership data. This could include your magazine printing company and Wire Wheels Webbers Ltd themselves for providing Crossmember support.
- A decision on which channels you use (email, SMS, post).
- A draft of the plain-English policy text that you have already published on your website or in your magazine (you can edit later, but try to get it close).
- How members can contact you for Subject Access Requests, termination, data deletions etc.
Create a new policy
- Go to Admin → Setup → GDPR(tab), then scroll down to GDPR Policy section
- Type or Paste your policy text.
- Keep paragraphs short
- Make use of the Accordion structure
- Use bulleted lists
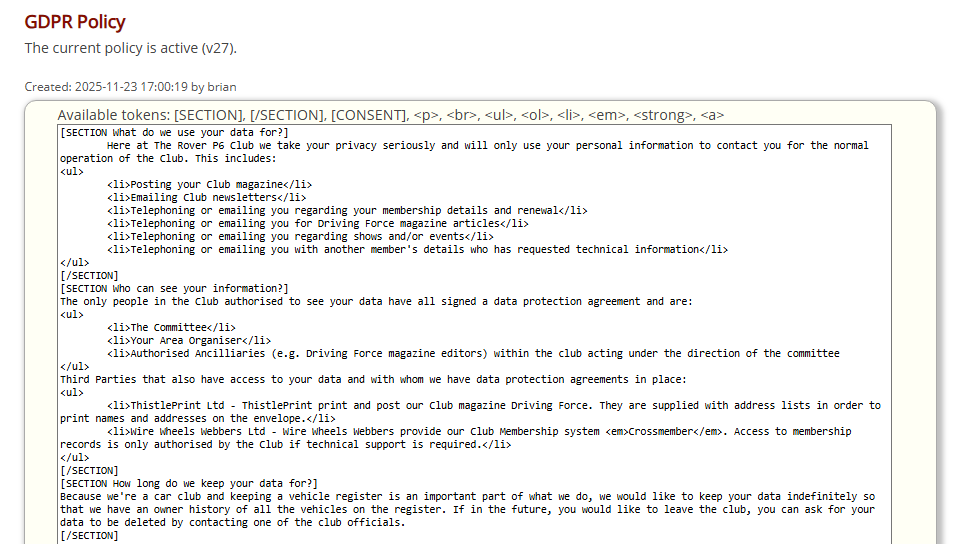
What you can type in the policy box
You can type plain text, just like writing an email. Most clubs choose to include:
- What information the club collects
- Why the club needs that information
- How long it is kept
- Who it is shared with (for example, mailing companies)
- How members can contact you with concerns
- Anything special about your club’s handling of data (for example, vehicle registers)
There is no required wording. You can write your policy in your club’s own voice.
Helpful formatting tools
Above the policy box, you will see a row of formatting tags. These can be inserted to help you structure the policy so it’s easy to read — especially for members who may struggle with long blocks of text.
You can use:
- Bold (strong)
- Italics (emphasis)
- Bulleted lists
- Numbered lists
- Line breaks
- Paragraphs
- Web links (URL / anchor tags)
Using the special Crossmember tags
Crossmember offers two special tags that make your policy clearer and more interactive. These tags go in square brackets and are easy to type.
Sections — for collapsible headings
Use these to split your policy into tidy “accordion” sections.
[SECTION Who can see your information?]
The only people in the Club authorised to see your data have all signed a
data protection agreement and are:
<ul>
	<li>The Committee</li>
	<li>Your Area Organiser</li>
	<li>Authorised Ancilliaries (e.g. Driving Force magazine editors)
within the club acting under the direction of the committee
</ul>
Third Parties that also have access to your data and with whom we have data
protection agreements in place:
<ul>
	<li>ThistlePrint Ltd - ThistlePrint print and post our Club magazine
Driving Force. They are supplied with address lists in order to print names
and addresses on the envelope.</li>
	<li>Wire Wheels Webbers Ltd - Wire Wheels Webbers provide our Club
Membership system <em>Crossmember</em>. Access to membership records is only
authorised by the Club if technical support is required.</li>
</ul>
[/SECTION]
Anything you type between those two tags will appear inside a collapsible block. This keeps your policy neat, especially if you have several topics to cover.
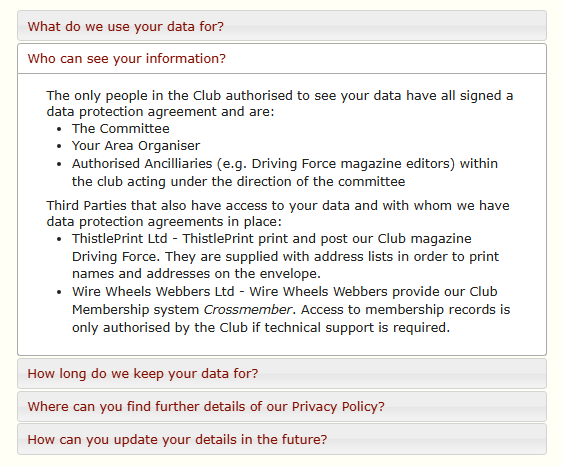
Consent tags — to show the consent checkbox
If you want the member to see a consent checkbox immediately under a line of text, you can place:
[CONSENT I consent to my personal information being given to The Rover P6
Club and used in accordance with normal Club business as described above.]
Wherever you insert this, Crossmember will show the tick box for Consent. This tag MUST be present. It is best put at the end of your Policy.

Good practice when writing the policy
- Keep sentences short.
- Use headings clearly, for example “What We Collect” or “Your Rights”.
- Use bullet points instead of long paragraphs.
- Avoid legal language. Plain English is better.
- Explain why the club needs information (“We need your address so we can post your magazine”).
- Keep the tone friendly and reassuring.
Remember: This is a helpful explanation for your members to understand who can see, and what you’re going to do with their data.
Preview the member view
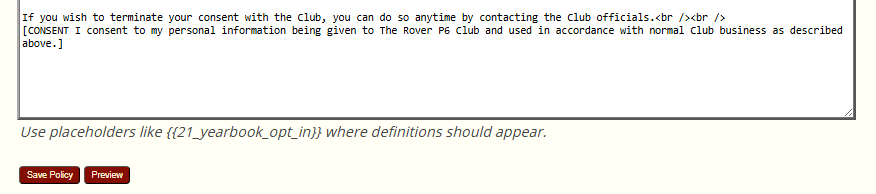
- Click Preview to see exactly what members will see when they join or reconsent.
- Check: Are the headings clear? Does it all make sense to a non-expert?
- Get it right, and adjust the wording now to avoid creating a new version later.
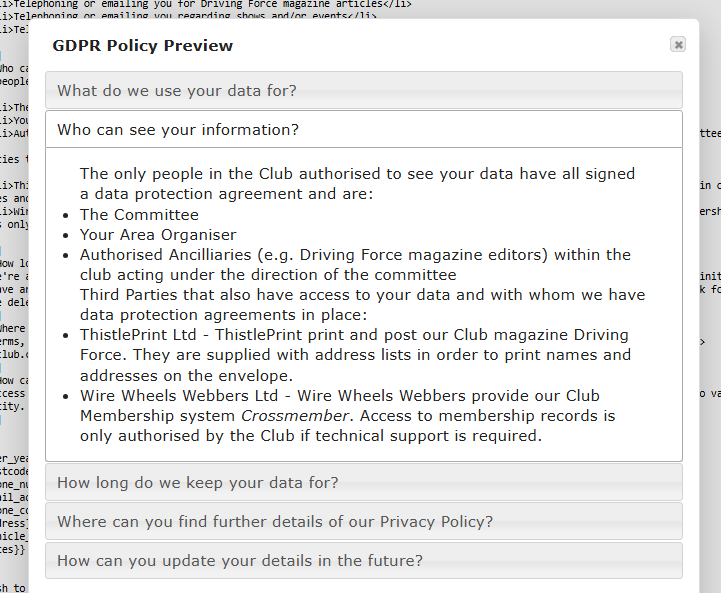
To remove the preview, click the X in the top right hand corner.
Set policy to Active
- When you are happy with the Policy, save it. Saving the Policy will automatically make it Active so long as:
- The policy only includes Active definitions – (We’ll come onto consent option definitions later)
- The previous version of the Policy becomes Retired automatically (you can’t change its text; it’s kept for proof of previous member consents).
Active vs Retired (plain English)
- Active: the live version members see and answer.
- Retired: an old version frozen in time; members no longer consent to it, but the record stays for your audit trail.
When to create a new version
Create a new version if you:
- Change the meaning of an option (e.g., you add “and selected partner offers” to the newsletter).
- Start a new type of communication (e.g., SMS alerts) and want consent for it.
- Clarify wording in a way that affects member expectation.
Don’t create a new version for:
- Typos, punctuation, or layout tweaks that don’t change meaning. Doing so may cause confusion between policies and the need to get reconsent.