
3. MailOut – Using the Editor
The basic elements of using the Editor and straight forward. Yes you can just type and go. But take a look at the Toolbar on the Editor and you can do much more.
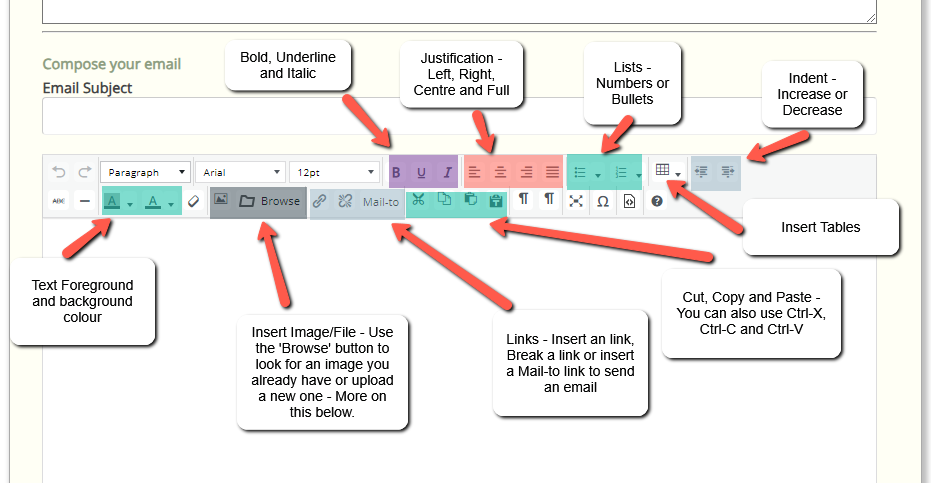
Here we can see that all of the basic functions of any editor are covered including bold, underline and italics. Formatting functions, even tables. Almost all of these button have tooltips that show up if you hover over the button too so you wont forget its function.
Possibly one of the most powerful features that we shall look at in more detail is the ‘Browse‘ button in the images section on the second row.
The Browse button allows you to upload and use images in your emails and provide links to files if you need members to download something – perhaps an event entry form.
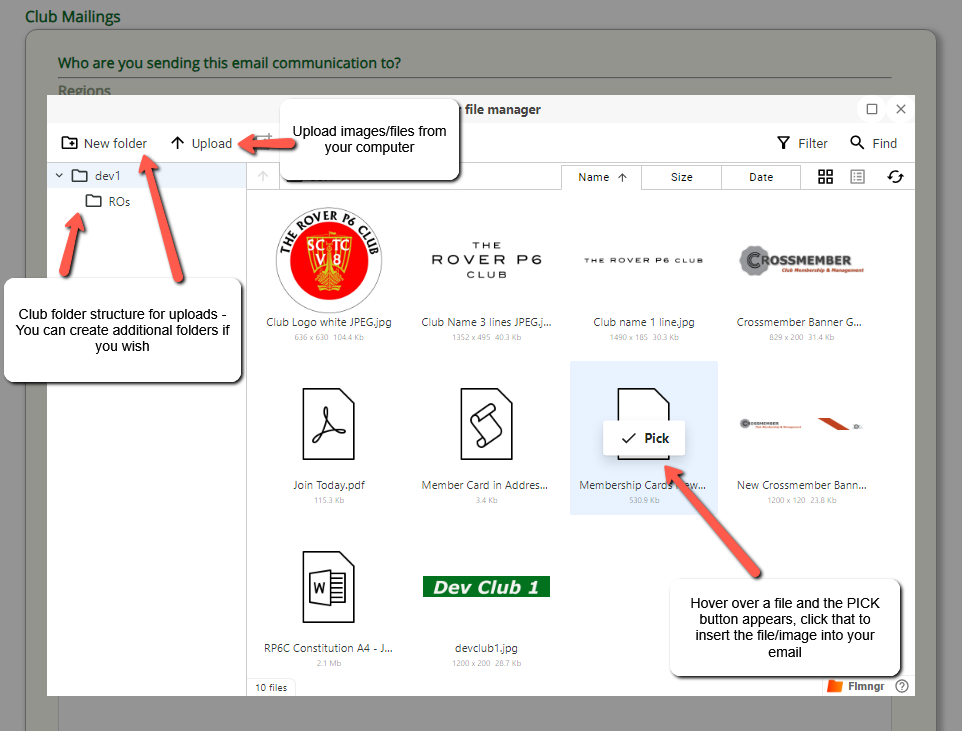
NOTE: ALL FILES UPLOADED MUST BE LESS THAN 2MB IN SIZE
If you have files that are larger than this, the upload will fail. There are many image reducing services on the internet that work very well to ensure that your digital cameras 20MP image is sufficiently reduced and on a computer screen you will barely be able to tell the difference.
If you click on the Browse button, a new pop-up window will open displaying your Club’s File Manager like this:
While you’re browsing in the File Manager, you can also right click the files to bring up a context menu:
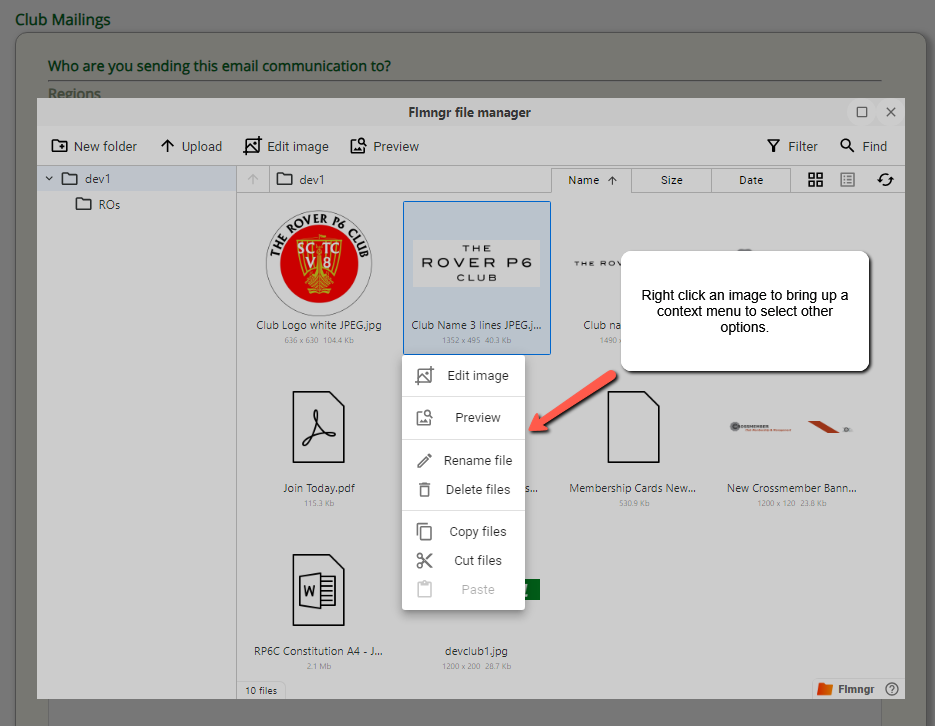
There is a basic editor where you can resize your images, rotate or flip them, draw on them, crop them etc.
There is a previewer so that you can double check it is the correct image before adding to your email.
You can also rename them to be more meaningful and delete them if no longer required.